Wednesday, January 21, 2015

Love Birds

Hey peeps!

So I just posted a NOTD on instagram and thought "I better write this blog post before I get lazy!"

Yup! That's me...anyway...I haven't painted birds before me thinks...I wanted to do an owl mani that day but all the googled owls didn't appeal to me...Darn me for not screen shoting the nice owl mani!

Back to the point, I saw this wedding invitation on FB that my friend posted (was not his wedding) and thought "Well, that's cute! I should paint that!" So, I did with a little change in scenery of course hahaha

Here's the original.


And here's the mani!


Colours used:
Base coat - Essence Ultra Strong Nail Hardener
Base - Miss Ashleigh Experi-mint & Baby's Got The Blues Ombre (I did this ombre using a brush technique I saw @yagala do on insta...check her out! I think this technique blends better than sponge!)
Others - Acrylic Paint
Top Coat - Glisten & Glow HK Girl

That's it for this post! 
Cheers!

Sunday, January 18, 2015

New Year?

Hey all!

So I haven't posted up my new year nails...well here they are!


I asked my bf what should I paint for new years and he said fireworks...

Urghhhh why why why fireworks! I seriously cannot handle fireworks because actual fireworks are so pretty so how are you going to get that onto a nail? I'm sure other nail artists have done it but it just doesn't work for me.

So this is what I ended up with on new years...

Disappointing...I know but there will definitely be a time when I will be happy painting fireworks!

Till then!
Cheers!

Thursday, January 15, 2015

Classy French Tips - Minty-fied!

Hi Guys!
Here's my NOTD (Nails of the day) featuring a classy mint lace french tips.
I'm not the type that really likes french tips especially since my nail beds are so incredibly short but this mani is so YES! Plus who would say no to lace and mint?!?
Shorter nail beds = Longer french tips


Anyway, here are the colours I used for the mani.
Base coat - Essence Ultra Strong Nail Hardener
Mint - Miss Ashleigh Experi-mint
Black - Mundodeunas Stamping Polish
Top Coat - Glisten & Glow HK Girl
Nail Vinyls - Teismom
That's it for this post!
Cheers!

Monday, December 15, 2014

Elle Girl No.86 Swatch

Hello everyone!

Here's a swatch of Elle Girl No. 86 polish. It is a Korean brand polish my friend got me as a souvenir. 

86 is a sheer creme white polish with glitter chunks is them! Including snowflakes and stars, there are also multi coloured hexagonal and round glitters. I suggest painting a layer of white polish before applying for a more opaque look. The photos show 3 layers of the polish. 

*Photos are at the bottom of the post because I'm using the Blogger app. 

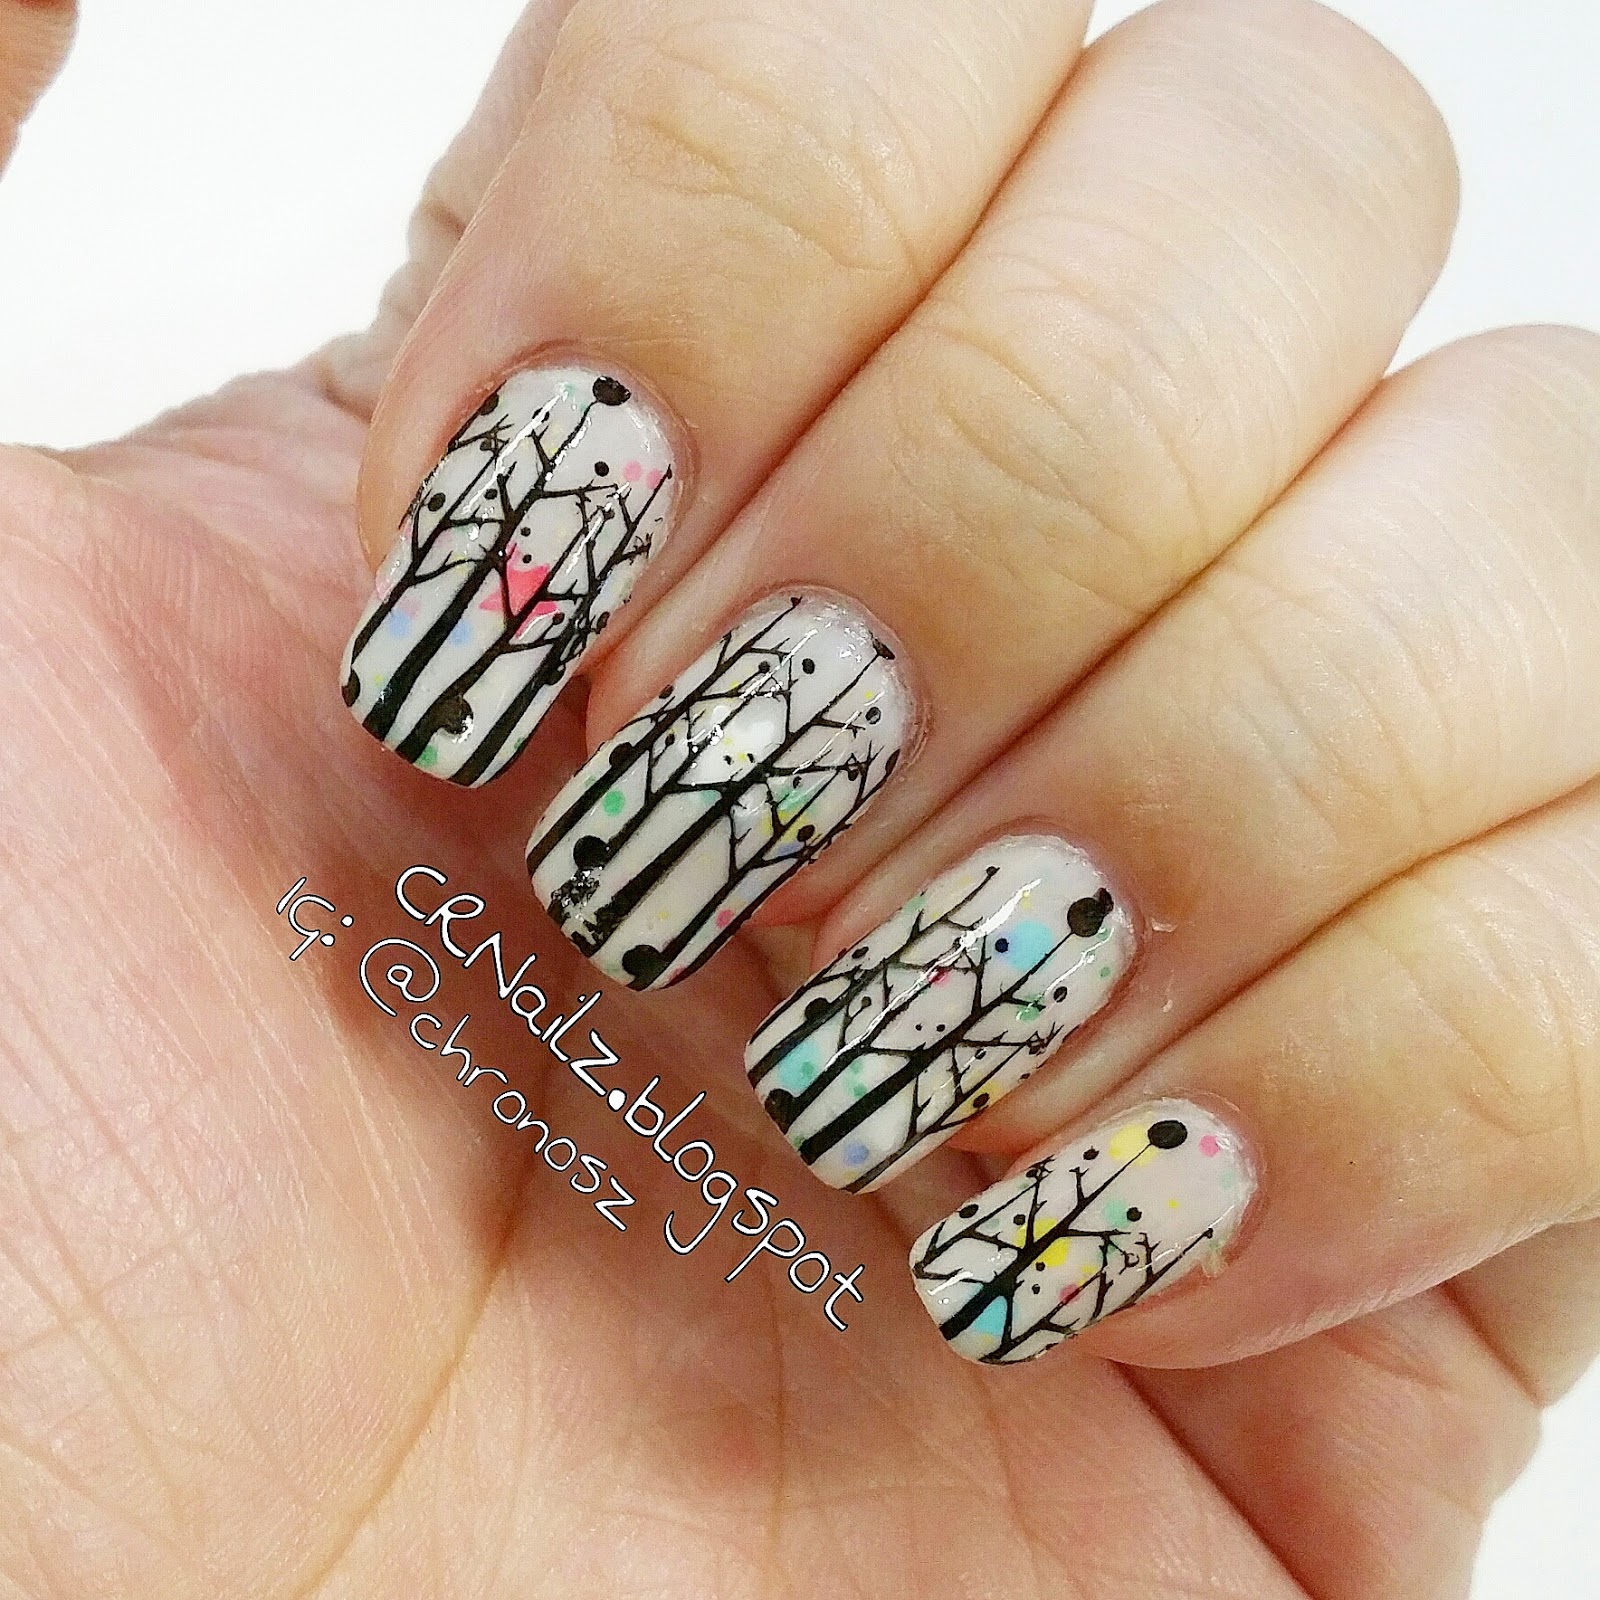
I didn't want to just remove the polish so I did a bit of reverse stamping. :) 

Using Bundle Monster plate BM-407 I stamped some trees using Laval black and topped with Glisten & Glows HK Girl Top Coat. 

The next day I matted the mani with Miss Ashleighs Matte Hatter and I must say that the matte version is so much prettier! 

That's it for this post.
Cheers.


Wednesday, December 10, 2014

Normal Stamping Vs Reverse Stamping

Hey guys! 

I posted this mani on instagram (@chronosz) last night and wanted to discuss the pros and cons of 'Normal stamping Vs Reverse Stamping'.


The photos are not very clear but hopefully it will suffice for this brief explanation. 

I used reverse stamping on the pointer finger whereas the others were done using the normal stamping method. From my observation, the design is clearer and neater using the reverse stamping method. On the other hand, the normal stamping allows for missing pieces of the pattern and the design can sometimes come out crooked. 

This can be explain by the following:

  1. You did not stamp the design properly
  2. Part of the polish dried 
  3. The polish you are using is not suitable
For me, I am still looking for a good stamping polish. my favourite black polish from The Faceshop is too sheer for stamping. So far, I have purchased black polishes from Laval and Rica. Truth be told, I was incredibly excited when I got my Rica polishes. I had seen so many beautiful manis using her polish but to my dismay it was not meant to be. The Rica polish was impossible to stamp with, even with the reverse stamping method. I'm not saying that it's not good but there were other factors preventing me from using it properly. I'll comment more on this in a different post. 

Getting back to the topic at hand, reverse stamping is done by top coating the design when it is on the stamper, wait for it to dry, peel it off, top coat your nail and paste it on like a nail wrap. Basically, it's a DIY nail wrap. The reason why the design comes out neater is because reasons 1 & 2 do not apply here. The downside is that it could come out uneven when you're putting it on your nail. I still have difficulties with it and most of the time, the side of the 'nail wrap' doesn't stick on the nail and it leaves air pockets. 

It is best to press it down onto your nail and make sure it's stuck on hard first before cutting off the excess and applying another layer of top coat. Here's a video tutorial from the amazing Sveta Sanders. Check here instagram out for more amazing manis!!


In my opinion, normal stamping is all good if you've got a good polish while reverse stamping is good when you have some of the problems above like I do or if you want to add a little colour to the design. 

That's all for this post! 
Cheers!

Wednesday, December 3, 2014

Tribal Winter

Hey peeps!

I totally did not notice that this post didn't go up! So here it is!

In the meantime, here's another mani using one of Miss Ashleighs polishes!


I used 'And it was all yellow' from her neon collection for the base, black polish from The Faceshop and the design using acrylic paint.

Chrismas manis are popping up on instagram and I'm no stranger! The green and red was a MUST! :)

That's it for this post! See you all really soon!

Cheers!

Bubble Trees

Hey all! 

Here's the continuation of yesterday's mani! 


I call them bubble trees!! The best part is that I have a picture tutorial for you guys so you can paint them yourself! This is probably my first time making a tutorial so bear with the bad photos and instructions! Here we go! 


  1. Use Christmas colours (or any colour you like) using the Nimbus Bubbles technique (tutorial on The Nailasauraus)
  2. Overlap lightning nail vinyls (i'm using ones from Teismom) with the lightning facing out until it forms a tree shape
  3. Cut off the excess at the top until it is pointed
  4. Paint over the sides of the vinyls, making sure that you do not get any polish on the middle and the bottom of the nail as there will be exposed areas
  5. Remove the vinyls and apply your favourite top coat (I'm using Glisten & Glow HK Girl)
That's it! I hope you enjoyed the tutorial and I will see you soon! 

P/S: Don't forget to tag me @chronosz on instagram if you used the tutorial! 

Cheers!