Showing posts with label white. Show all posts

Monday, August 10, 2015

Birdie Blues

Happy Monday all,

*yawnnnn*

Yup, that's sounds like the normal Monday morning response. Le boyfriend suggested painting my nails blue because you know...Monday blues...hahahahhaha

Well I take anything that sounds good. So, I did a blue with white french gradient tips. It reminded me of clouds and how fluffy they are and how nice it would be to sleep on them...

*yawnnnnn*

This post is making me sleepy...but gradients to be are a bit boring now so I did some stamping. Making use of my Moyou London Zodiac Plate, I stamped on a bird on a branch. =) 

Looks really good with the gradient. Like looking up from under a tree with a bird perched on a branch and the cloudy blue sky as the background.  


Colours used:

Base coat - Essence Ultra Strong Nail Hardener
White - OPI Alpine Snow
Blue - Miss Ashleigh Baby's Got The Blues
Black - Mundodeunas 
Top Coat - Glisten & Glow HK Girl 

That's it for this post! 
Cheers! 

Sunday, July 26, 2015

Paper Towns | Get Lost To Get Found

Hi all! 

About a week ago, I entered an insta contest hosted by Warner Music Malaysia and won two tickets to the premiere of Paper Towns. I have not watched The Fault In Our Stars yet but I've heard good things. So, coming from the same author it was expected to be a good movie. 


I was a tad bit disappointed with how Warner Music managed the competition especially when winners wanted to collect their tickets. We got our tickets 10 minutes before the movie started and I admit that I was worried that we would be late but we weren't. All's good that ends well. 

Anyway, with my tendency to paint designs based on events - here's a Paper Towns inspired one. 


Colours used:

Base coat - Essence Ultra Strong Nail Hardener
White - OPI Alpine Snow & Acrylic Paint
Black - Laval & Acrylic Paint
Top Coat - Miss Ashleigh Matte Hatter

As for my review on the movie, it didn't turn out to be a regular romcom but I liked how the story flowed. There was laughing and crying involved but John Green paints a pretty realistic view on knowing oneself and unrequited love as well as friendship. I would give it a 6/10. Thanks Warner Music Malaysia for the tickets! 


That's it for this post!
Cheers!

Sunday, July 12, 2015

Thirsty for Grape Soda

Hey peeps! 


Here's another swatch from the iScream Nails set. This polish is called Grape Soda. Sounds tasty no?! Another colour under the pastel neons category. 


At first, it strikes me of a more magenta shade then it just seems pinkish violet. I would say this is quite a unique colour. 


This is three coats of Grape Soda over a coat of OPI Alpine Snow. As per the other polishes, I wouldn't call them streaky but two coats just ain't enough. 

Here's the nail art I did to go with the polish. I was aiming for a more flowery theme...sis-in-law said it reminded her of henna. 


I think this shot of the mani is pretty good. Hopefully, it means that I'm getting used to the new shooting arrangements. :)

That's it for this post!
Cheers!

Wednesday, July 1, 2015

Baby Showers

Hi all! 

I actually did not plan this mani but it ended up painting a baby shower-ish mani. I was going for a neat, basic, elegant and pastel mani in the beginning. 


So, I grabbed some @teismom stripe nail vinyls and my Laval pink polish. It looked pretty good then as I was going for my right hand, I decided to use a different colour. Who wants to be same as the others? =P


I haven't gotten the chance to swatch the new iScream polishes I got from my friend Junlynn as an early birtbirthday present but I just had to try it!

This is iScream nails Blue Heaven on OPI Alpine Snow. It came out better than I realised! 

Also, not sure if you guys actually noticed that the composition of my photo is different now but I'm trying out something new. Here's the story, I was out yum cha-ing (literally translated as drinking tea) or having supper with my friend at Alexis Telawi and this guy selling lights comes up to our table. The table light he was selling was foldable and extremely bright! I was sold! 

Thus how I ended up using the light to take photos of manis at night instead of in the morning. I seldom take morning photoa because I wake up early for work and I'm indoors during the morning. I'm still working out the angle and stuff but so far so good. 

Another surprise! The blue mani got more than 100 likes on Instagram! This is a first for me! For those on instagram reading this, thanks a bunch! 

In the meantime, here's a really short picture tutorial for you guys. 


First, paint a layer of white - I used OPI Alpine Snow. Top it off with your favourite top coat - I used Glisten & Glow HK Girl. Then used some striping tape or nail vinyl and place it in the middle - I used @teismom nail vinyls. Once placed properly, paint your chosen colour until opaque and carefully remove the tape before the polish dries - I used Laval Pink & iScream Nails Blue Heaven. Finally, top it off with top coat and you're done! 

Simple rite! 

That's it for this post!
Cheers!

Monday, June 8, 2015

ぐでたま- Gudetama~

Hey all! こにちわ!

Now then! I'm quite excited to show you my latest mani which is Gudetama inspired! Just in case you don't know who or what is Gudetama - here's a short intro. 

(Photo source : mochimochiland.com)

Gudetama is one os Sanrio's latest character featuring a lazy egg. This is one of Sanrio's more comical than cute characters but is still super kawaii! 可愛いいい~ With his lazy face always on, Gudetama will teach you all the ways an egg can be lazy! 

Anywayz, I totally love Gudetama cause he's cute so cute! I'm very happy with how the design turned out and I must say this is one of my best detailed nail art to date! I love painting 2D characters! =D

Without further a do, I present my nails! 


Here's a close up of the individual nails. 


And here's a short picture tutorial for the gudetama hanging from the chopsticks. 


Colours used:

Base coat - Essence Ultra Strong Nail Hardener 
Base colour - OPI Alpine Snow & Pa 
Design - Acrylic Paint 
Top Coat - Glisten & Glow HK Girl 
Gel Gudetama - Ace Gel 

I am attempting another 2D character next so look forward to that but I think I'll try and keep Gudetama on for as long as possible! 

That's all for this post! 
Cheers!

Thursday, May 21, 2015

I Spy A Fingerprint!

Hey guys! 

(Source: teaser-trailer.com)

For the first time in forever~~~ I won tickets to a movie premiere!! Thanks to The Salad Show and Dan Khoo, me and my friends got the chance to watch 'Spy' staring Melissa Mccarthy, Jason Statham & Jude Law!

I was hooked on the movie after watching the trailer which was hilarious! The full movie is even better!! Trust me on this! XD 

For the event, i decided on fingerprint nails since it was a spy show and all...although fingerprints are leaning more towards detectives...no? 


Colours used :

Base coat - Essence Ultra Strong Nail Hardener 
White - OPI Alpine Snow 
Black - The Faceshop 
Red - OPI Big Apple Red 
Stamper - Faburnails
Design - Bundle Monster BM-414
Top Coat - Glisten & Glow HK Girl 

If you couldn't tell, the red represents blood. Hahaha! 

That's it for this post! 
Cheers!
I shall leave you with some photos of us from that night! 

Photo credits to Elle 

Me & Dan Khoo of Dan Khoo Productions
(After work tired face...gahhhh)

Elle with stars of The Salad Show

 Me & le boy! ♡

The movie is out in Malaysian cinemas TONIGHT! Go book your tickets now!!

Saturday, April 18, 2015

A Popsicle Wedding!

Hey guys! 

I am currently in Jakarta now on a short trip with the le boyfriend to do a little sightseeing and to attend his friend's wedding. While I'm in the hotel, I might as well share my mani for the wedding! 


Base Coat - Essie Nail Hardener Top Coat
White - OPI Alpine Snow 
Coral - Essie Tart Deco
Pink - Picture Polish Watermelon 
Top Coat - Glisten & Glow HK Girl 
White Heart - Ace Gel 

I recently went to a seminar by Yoko Matsuda on gel designs hosted by Haru Global Beauty. I learnt how to make the icing gel then. It was such an amazing experience especially since it was my first time handling gel! 


That's it for this post!
Cheers!

Friday, April 10, 2015

Stamping Wonders

Hey guys! 

I thought I would share some of my latest manis with you just in case you don't follow me on my instagram @chronosz. =)


I did this mani with no particular design in mind...I just wanted my current fav Canmake polish and some sort of design. So, I flipped through my stamping plates for a nice design and decided on one from BM-404. I used reverse stamping to get the pattern on. 

Polishes used :

Base coat - Essence Ultra Strong Nail Hardener 
Green - Canmake 406C
Gold Glitter - OPI Don't Speak 18k Gold Top Coat 
Stamping Polish - Laval Black
Top Coat - Glisten & Glow HK Girl 


This is my current NOTD but not for long!! I'm going for something girly next! 

As you can tell, I've been doing some stamping here and there. This mani is a double stamped butterfly design also using a Bundle Monster plate. 

Colours Used : 
Base Coat - Essie Nail Hardener Top Coat 
Blue Texture Polish - Miss Ashleigh See You In Santorini
White stamping polish - Mundodeunas white
Purple polish - Color Club Ms. Socialite 
Top Coat - Glisten & Glow HK Girl
Bundle Moster Stamping Plate BM-307

I wasn't really feeling this mani...but others did so that's good enough for me! Look forward to more swatches! 

That's it for this post!
Cheers!


Saturday, March 28, 2015

Have An Easter Togepi!

Hi all! 

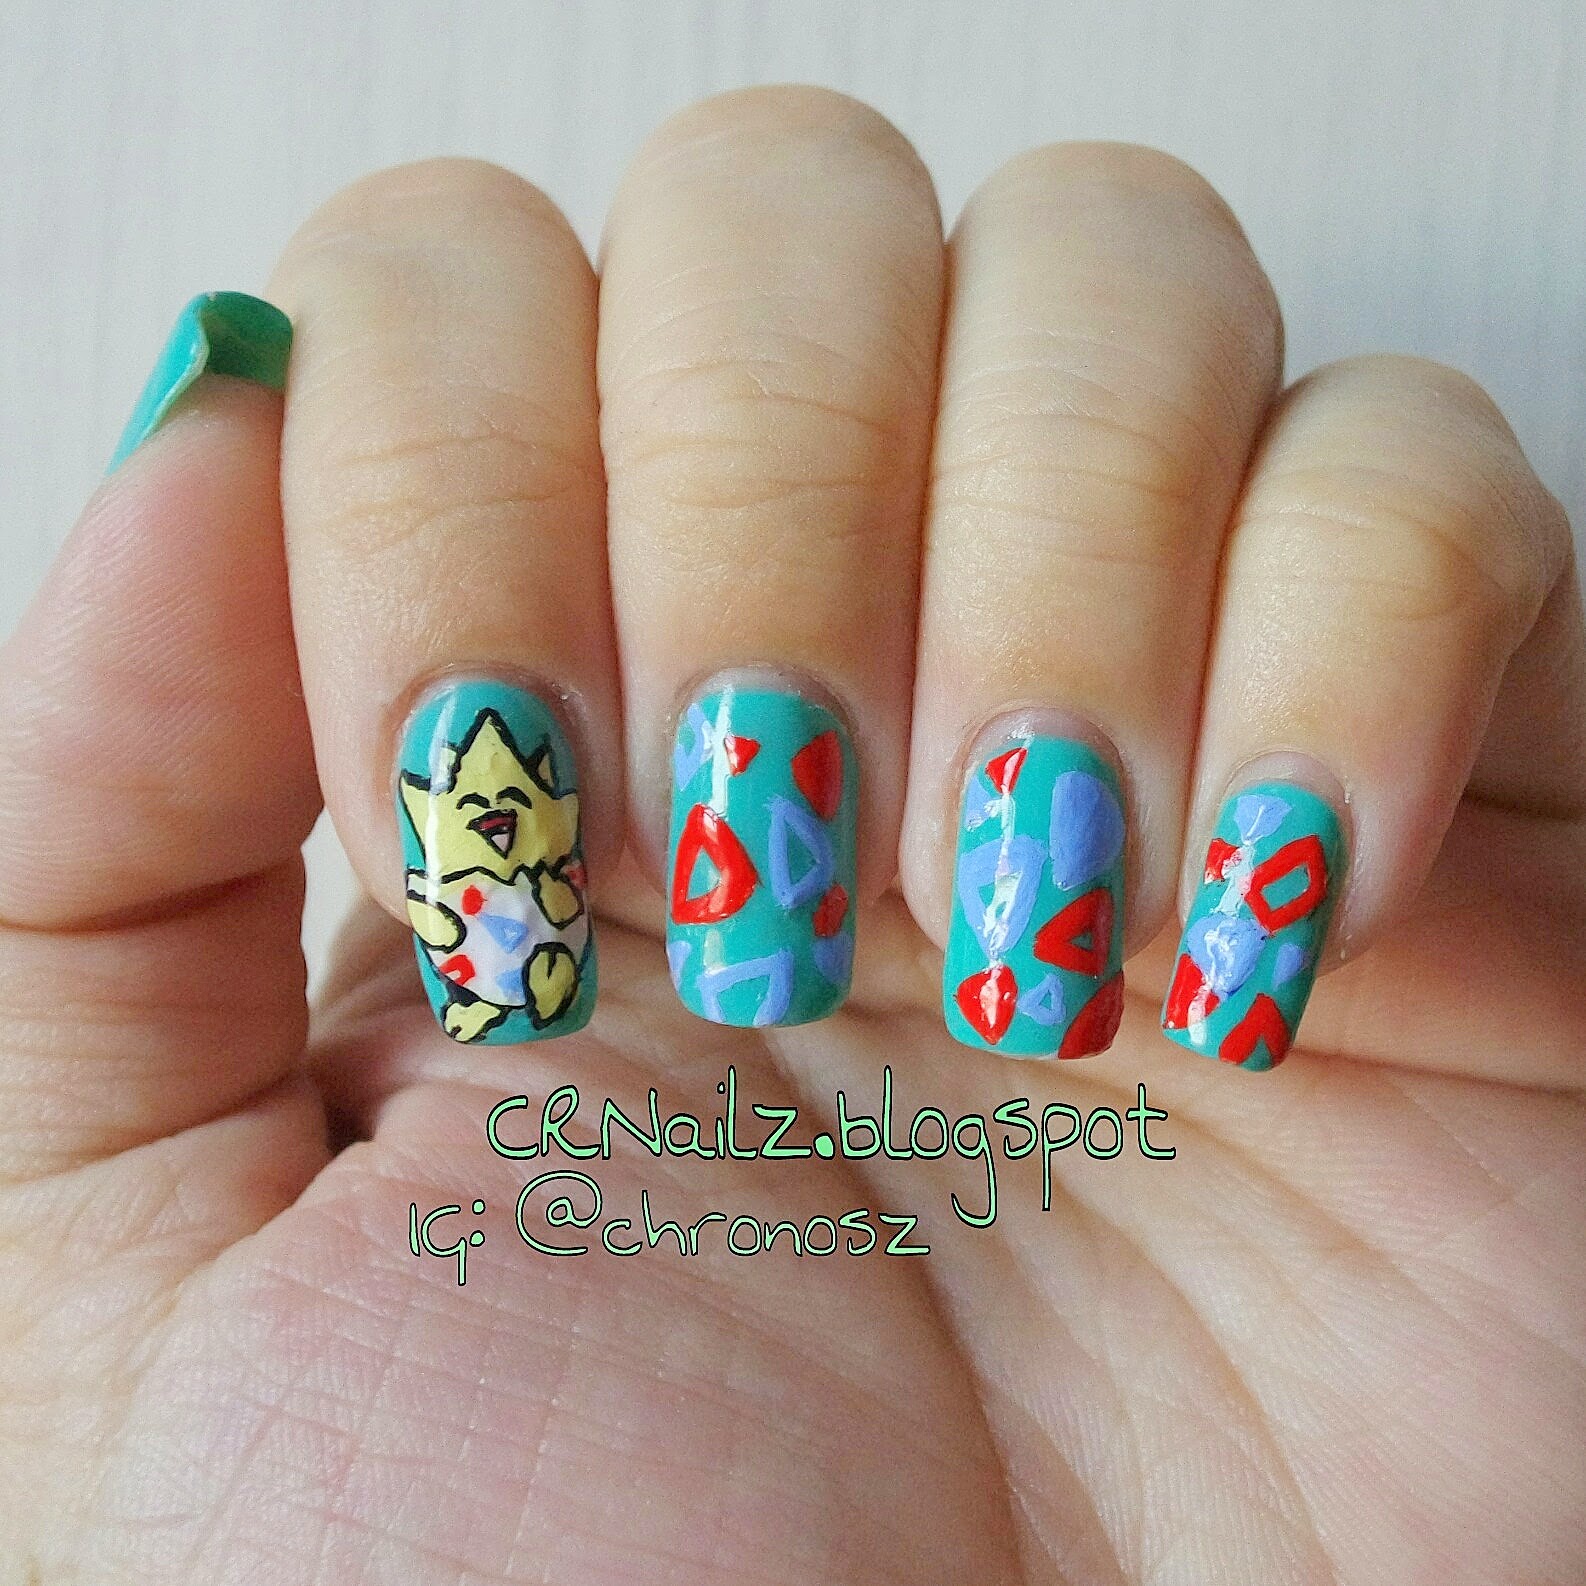
Happy Early Easter! I actually had the urge to paint pokemon since I haven't attempted it before and since Easter is coming...how about a cute egg pokemon?! 😆

Please welcome to the blog - Easter Togepi! 


I'm actually quite impressed with the overall result considering that I haven't painted free hand for a while. 

Colours Used :

Base | Gelist Clear Gel Base, Pa 
White | OPI
Other colours | Acrylic Paint 

I shall attempt to paint other pokemons soon! 

That's it for this post!
Cheers!

Wednesday, February 4, 2015

Sakura Season

Konbanwa minna-san! 

I haven't been painting my nails lately since I've been kind of busy this past week and I noticed that I haven't posted this mani yet. 

I have also loved sakura or cherry blossoms since they look so pretty and they remind me of Japan! 日本大好き! I actually can't read or write Japanese much but I can speak a little thanks to watching so much anime. =D

I've attempted sakura nail art a few Chinese New Year's ago but it didn't come out all that nice but this year...I don't know how it happened but I love what came out of it! 


The base is Laval pink and the design is painted on with acrylic paint. I really love this mani! If you're wondering about the pointer finger well...I had just watched 'The Book Of Life' at the time and had fallen in love with La Muerte....she's so pretty....

Yup! So I actually saved that nail for her but I couldn't paint her nicely and opted it out in the end. Oh well, c'est la vie!

Chinese New Year is just around the corner so look forward to more CNY themed manis! 

Cheers!  


Monday, December 15, 2014

Elle Girl No.86 Swatch

Hello everyone!

Here's a swatch of Elle Girl No. 86 polish. It is a Korean brand polish my friend got me as a souvenir. 

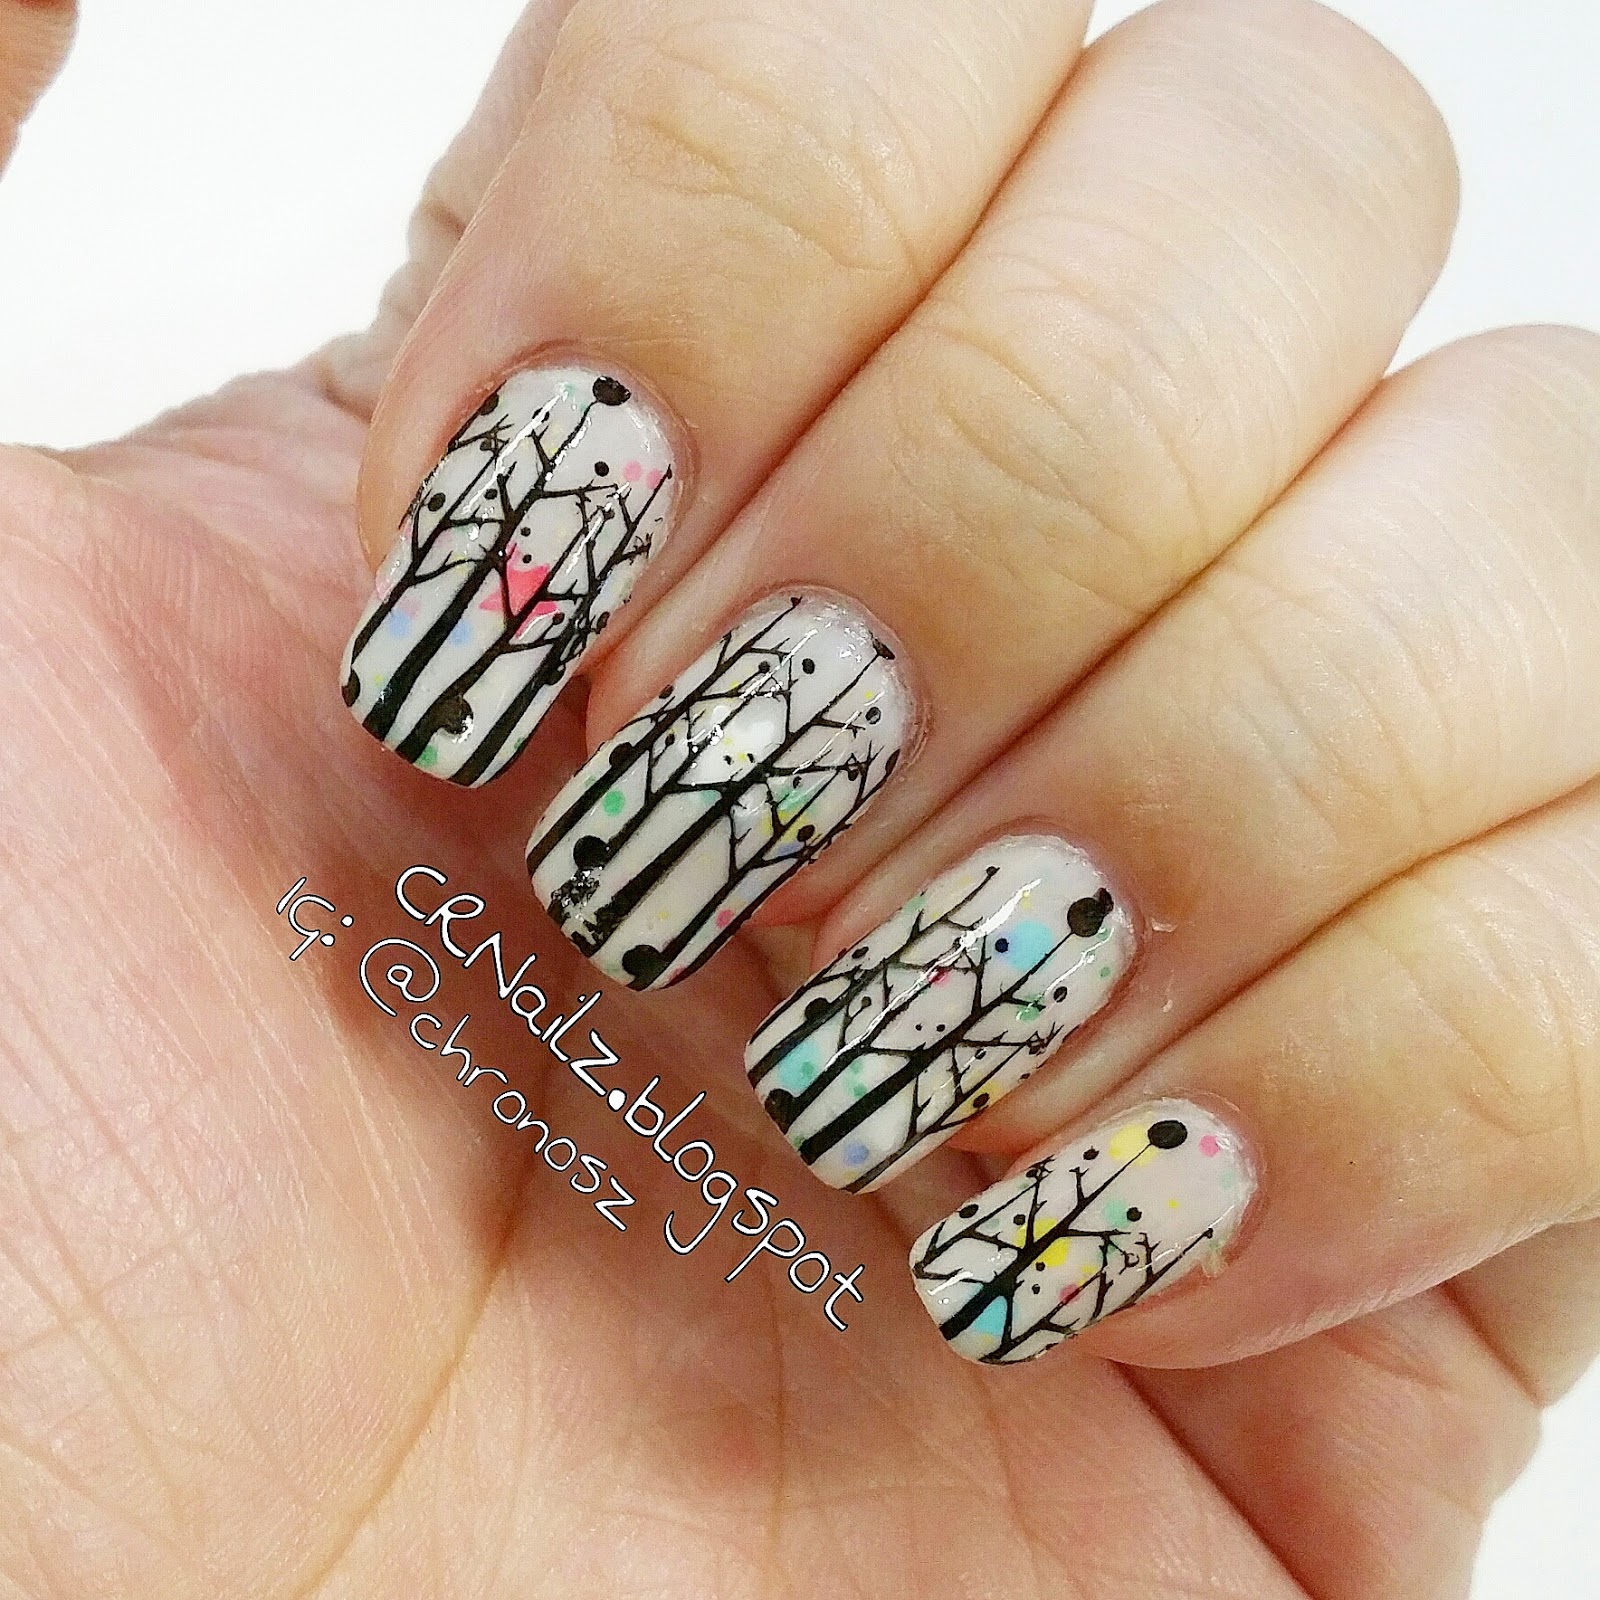
86 is a sheer creme white polish with glitter chunks is them! Including snowflakes and stars, there are also multi coloured hexagonal and round glitters. I suggest painting a layer of white polish before applying for a more opaque look. The photos show 3 layers of the polish. 

*Photos are at the bottom of the post because I'm using the Blogger app. 

I didn't want to just remove the polish so I did a bit of reverse stamping. :) 

Using Bundle Monster plate BM-407 I stamped some trees using Laval black and topped with Glisten & Glows HK Girl Top Coat. 

The next day I matted the mani with Miss Ashleighs Matte Hatter and I must say that the matte version is so much prettier! 

That's it for this post.
Cheers.


Wednesday, December 3, 2014

Bubble Trees

Hey all! 

Here's the continuation of yesterday's mani! 


I call them bubble trees!! The best part is that I have a picture tutorial for you guys so you can paint them yourself! This is probably my first time making a tutorial so bear with the bad photos and instructions! Here we go! 


  1. Use Christmas colours (or any colour you like) using the Nimbus Bubbles technique (tutorial on The Nailasauraus)
  2. Overlap lightning nail vinyls (i'm using ones from Teismom) with the lightning facing out until it forms a tree shape
  3. Cut off the excess at the top until it is pointed
  4. Paint over the sides of the vinyls, making sure that you do not get any polish on the middle and the bottom of the nail as there will be exposed areas
  5. Remove the vinyls and apply your favourite top coat (I'm using Glisten & Glow HK Girl)
That's it! I hope you enjoyed the tutorial and I will see you soon! 

P/S: Don't forget to tag me @chronosz on instagram if you used the tutorial! 

Cheers! 


Tuesday, December 2, 2014

May You Have A Bubble Christmas!

Hey guys!

So I just finished Day 2 of Blogilates #Decemburn Calender! I have a love hate relationship with cardio...

Anyway! I decided to do something with my current mani but I shall leave it till tomorrow to show you guys that mani!

First, let me share my current mani. I tried out Nailasaurus's youtube tutorial on the nimbus bubbles technique. I definitely need more practice but practice makes perfect as they say.


Colours used:

White - OPI Alpine Snow
Red - OPI Big Apple Red
Green - Sally Hansen Emerald City

Look forward to the surprise tomorrow! 
Cheers!

Wednesday, October 29, 2014

RWBY

Hello all!

I'm not really feeling the other Halloween manis so here's another anime inspired mani instead!
I've been meaning to watch this anime for some time now since my bf was talking about it. It's an English animation with awesome battle scenes and although each episode is only 15 minutes long, it's freaking awesome!

So, this design was inspired by the monsters in the anime called grimm. I couldn't really get a clear image of them from the anime so i asked mr. Google. 

I found illustrations of the grimm on deviant art. 


I think this is quite good work considering I'm still a noob at acrylic paint. Check it out!


See you guys next time!
Cheers!

Sunday, October 19, 2014

Casper The Friendly Ghost

Hey guys!

I finally painted the right theme for the right day! Today's theme is ghost and guess who I picked as my muse!

Casper the friendly ghost...(did you just sing that sentence?)

I got the proportions wrong again but I think this is my best work using acrylic paint thus far! 

Enjoy! Cheers!

Wednesday, October 8, 2014

Halloween Challenge

Elo all!

So this year I have decided to yet again join another Halloween Challenge! Although...I am a couple of posts late =S

Here are the manis for the first 2 days!

Day 1 - Pumpkins
Day 3 - Skulls & Bones
(Photos at the bottom of the post)

The pumpkin nail art is inspired by Eva @coewless (instagram) from Coewless Nail Polish Blog She does really mind blowing nail arts! Love her!

The skulls and bones design was something I've been waiting to try for a while now. The base is my favourite black polish from the Faceshop and the design is drawn with acrylic paint.

My HK Girl Top Coat became gooey so I used my Seche Vite Fast Drying Top Coat instead. There was some serious shrinkage going on but I'll leave that for another post.

That's it for this post!
Cheers!